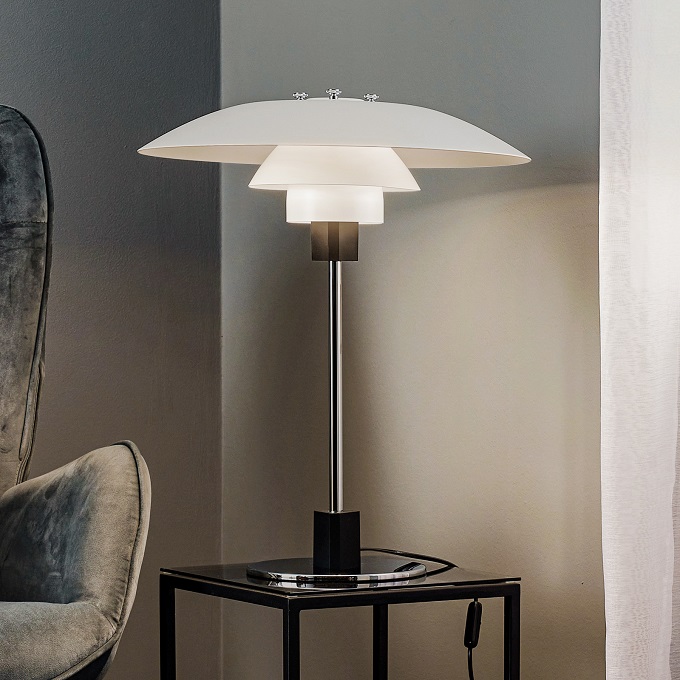


Are you looking to create a unique and eye-catching lighting fixture for your home or office? Look no further than the spider lamp! With its distinctive appearance and customizable design, the spider lamp is a conversation starter and attention grabber.
However, assembling a spider lamp can be a daunting task, especially if you aren’t familiar with electrical wiring or DIY projects. That’s why we’ve put together this step-by-step guide to help you assemble your spider lamp with ease and confidence.
Before You Begin
Before you dive into assembling your spider lamp, there are a few things to keep in mind. First of all, make sure you have all the necessary tools and materials on hand. These may include:
- A spider lamp kit
- A screwdriver
- Wire cutters
- Electrical tape
- A lampshade
In addition, it’s important to take safety precautions when working with electricity. Make sure to turn off power to the area where you’ll be working, and use insulated tools to avoid the risk of shock.
Step 1: Attach the Arms
The first step in assembling your spider lamp is to attach the arms to the central hub. Depending on the kit you’ve purchased, the arms may come pre-wired or you may need to attach the wires yourself.
To attach the arms, simply screw them into the hub using a screwdriver. Make sure to tighten the screws securely to ensure that the lamp is stable and balanced.
Step 2: Wire the Arms
If your spider lamp arms are not pre-wired, you’ll need to attach the wires yourself. Using wire cutters, strip the insulation from the end of each wire to expose the bare copper. Then, twist the copper ends together and cover them in electrical tape to secure the connection.
Next, thread the wires through the hub and connect them to the corresponding wires on the opposite arm. Make sure to match the colors of the wires (usually black and white) to ensure that the lamp will work properly.
Step 3: Install the Bulbs
Once the arms are wired, it’s time to install the bulbs. Depending on your kit, your spider lamp may accommodate a variety of bulb types, such as Edison bulbs or LED bulbs.
To install the bulbs, simply screw them into the sockets at the end of each arm. Make sure to use the correct wattage for your bulbs to avoid overheating or electrical fires.
Step 4: Attach the Lampshade
The final step in assembling your spider lamp is to attach the lampshade. Depending on your kit, you may be able to attach the shade directly to the hub using screws or clips. Alternatively, you may need to use a harp and finial to secure the shade in place.
Once the shade is attached, you’re ready to plug in your spider lamp and enjoy your new lighting fixture!
While assembling a spider lamp can seem intimidating at first, with the right tools and a little know-how, it’s a fun and rewarding DIY project. By following these step-by-step instructions, you’ll be able to create a unique and modern lighting fixture that will impress your friends and family. So what are you waiting for? Let’s get started!